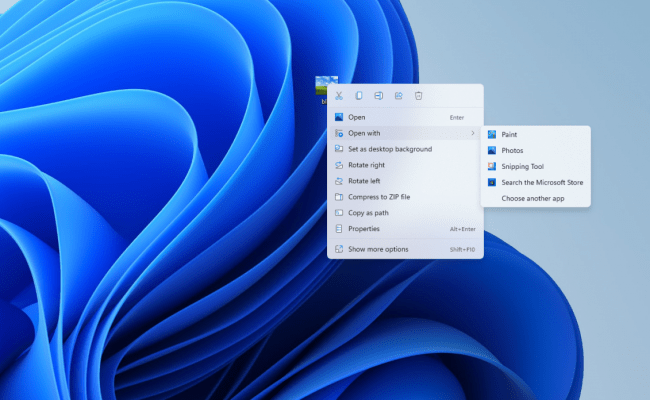
Windows 11 introduced a new truncated right-click menu by default, which means if you right-click on something, you only get a partial menu and a “Show More Options” button to expand the menu into the full context menus. Luckily, there’s a way you can enabled full context menus in Windows 11 by editing the registry.
How to Enable Full Context Menus in Windows 11 via Command Prompt
One way is to use a single command in an elevated command prompt. This will add a key into your registry.
- Open an elevated command prompt
- Run this command:
reg.exe add "HKCU\Software\Classes\CLSID\{86ca1aa0-34aa-4e8b-a509-50c905bae2a2}\InprocServer32" /f /ve - Restart your computer
To revert these changes, you can run this command and restart afterwards:
reg.exe delete "HKCU\Software\Classes\CLSID\{86ca1aa0-34aa-4e8b-a509-50c905bae2a2}" /f
How to Enable Full Context Menus in Windows 11 via Regedit
To go through these steps manually through the registry:
- Open regedit (Win R and type regedit)
- Navigate to HKEY_CURRENT_USER\SOFTWARE\CLASSES\CLSID\
- Right-click in the right pane and select New > Key and name it {86ca1aa0-34aa-4e8b-a509-50c905bae2a2}
- Go to the new key, then right-click in the right pane and select New > Key and name it InprocServer32
- Open the (Default) key in InprocServer32 and set its value to blank, then click OK
- Close registry editor and restart your computer
To revert these changes, delete the InprocServer32 key.