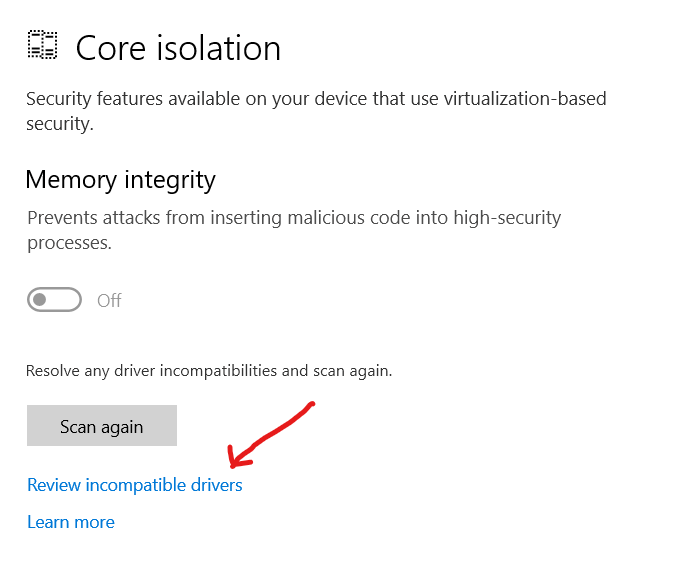
This issue can apply to any number of computers, but in my case, it was an issue on my new Microsoft Surface Laptop 3. Even out of the box, I was unable to enable the Memory Integrity for Core Isolation. In the screenshot above, you can see that it is because of an incompatible driver. In recent updates of Windows 10, you can click on the blue link to view the list of incompatible drivers. In most cases, the incompatible driver will be wdcsam64_prewin8.sys which is a Western Digital driver that is included in Windows 10. If you click on the link and it lists wdcsam64_prewin8.sys, then follow these steps to remove this driver if it is not needed on your system. Note: It is not needed on the Surface Laptop 3.
Fix to Enable Memory Integrity Core Isolation in Windows 10 due to Incompatible Driver
- Open an elevated command prompt (Run as Administrator)
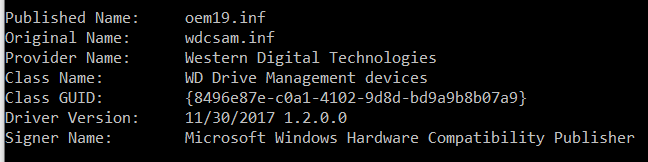
- Enumerate the 3rd party drivers with the following command:
pnputil /enum-drivers
- Find the driver with the Original Name of wdcsam.inf (if the incompatible driver was wdcsam64_prewin8.sys) and note the Published Name for the driver, which is oem##.inf
- Run the command to uninstall the driver:
pnputil /delete-driver oem##.inf
- Back at the Memory Integrity setting, click Scan Again and it should allow you to enable Memory Integrity
- After enabling Memory Integrity, you’ll need to restart your computer