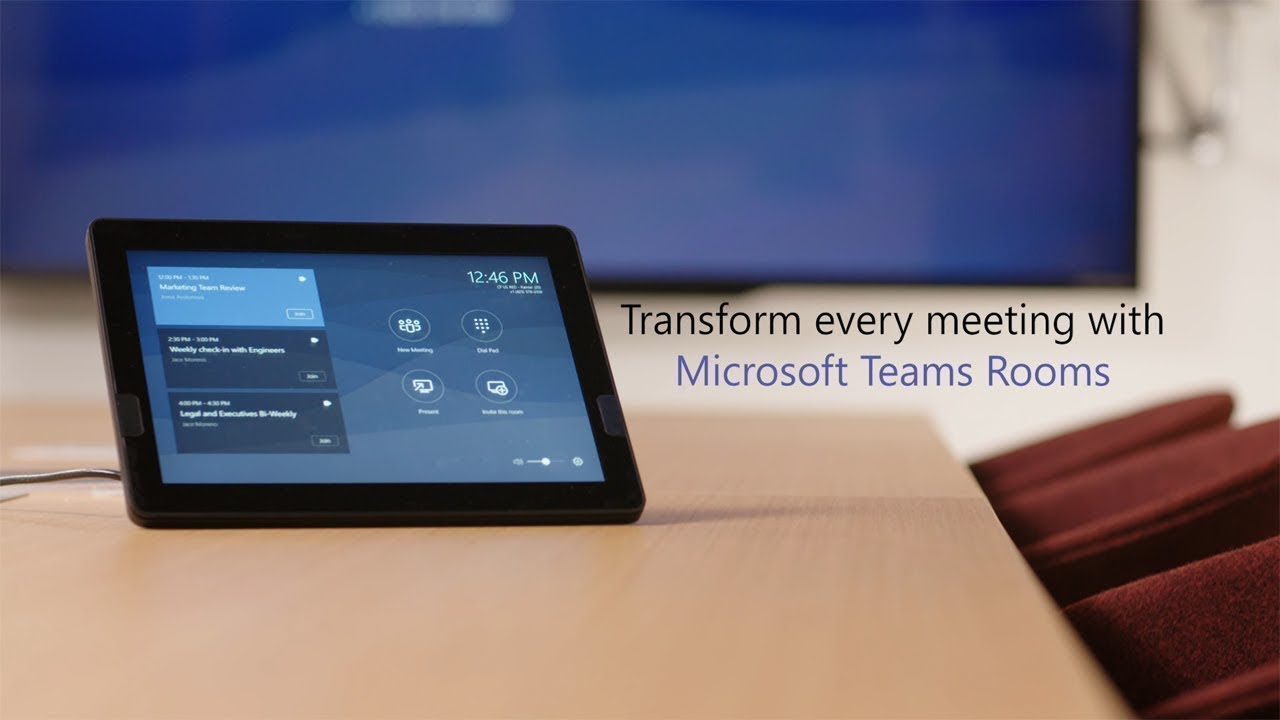
This walk-through will assist you in creating accounts which can be used for Microsoft Teams Rooms (MTR), formerly known as Skype Room System (SRS). These accounts can be used for any natively supported device such as Polycom VVX, Trio phones and Skype Room Systems from Logitech, Crestron, Polycom, HP, etc. Everyone’s setup can be unique, so some parts of this article may apply to your setup and others may not.
Creating Microsoft Teams Rooms Accounts
If you have Exchange Online, then you can create cloud-only room accounts. If you have a Hybrid Exchange setup, you’ll want to create the account on-premise and migrate it to Exchange Online so that the room appears in both your Exchange Hybrid and Exchange Online.
You can run Get-MsolAccountSku to get your available Office 365 licenses and find the SKU you want to use.
If you need assistance connecting to your Exchange Online Shell, check out our article: Office 365: Connect to Exchange Online Powershell
For Exchange Online, you can use Exchange Online Shell and set some variables first
$newRoom="[email protected]"
$name="Microsoft Teams Room"
$pwd="Password!23"
$license="TeckLyfeSKU"
$location="US"
Now in Exchange Online, you can run this command to create the room and mailbox using the variables above
New-Mailbox -MicrosoftOnlineServicesID $newRoom -Name $name -Room -RoomMailboxPassword (ConvertTo-SecureString -String $pwd -AsPlainText -Force) -EnableRoomMailboxAccount $true
You’ll want to wait a few minutes for the mailbox to be provisioned, then run the following commands
Set-MsolUser -UserPrincipalName $newRoom -PasswordNeverExpires $true -UsageLocation $location
Set-MsolUserLicense -UserPrincipalName $newRoom -AddLicenses $license
You can assign the license and set the password through the Office 365 Admin Portal if you prefer a GUI to Powershell
In the Office 365 Admin Portal:
- Go to Users > Active Users and find your room
- Go to Licenses and Apps
- Select the Location and check the license you want to apply
- Click on the key icon under the room name to set the password
Create Teams Rooms Exchange ActiveSync Policy
New-MobileDeviceMailboxPolicy -Name "TeamsRoomsPolicy" -PasswordEnabled $false
Assign the ActiveSync Policy to the room mailboxes
Set-Mailbox '[email protected]' -Type Regular
Set-CASMailbox '[email protected]' -ActiveSyncMailboxPolicy TeamsRoomsPolicy
Set-Mailbox 'roomname' -Type Room
Now you’ll setup some basics for accepting meeting requests in Exchange Online Shell
Set-CalendarProcessing -Identity '[email protected]' -AutomateProcessing AutoAccept -AddOrganizerToSubject $false -AllowConflicts $false -DeleteComments $false -DeleteSubject $false -RemovePrivateProperty $false -ProcessExternalMeetingMessages $true
Enable the Meeting Room for Skype/Teams
Connect to the Skype for Business Shell and run this command to find the SIP registrar for the room:
Get-CsOnlineUser roomname |ft RegistrarPool
Next, enable the room:
Enable-CsMeetingRoom -Identity roomname -SipAddressType "EmailAddress" -RegistrarPool "sippoolblu2a05.infra.lync.com"
Configure Enterprise Voice if applicable
For Microsoft Teams either Direct Routing or Calling Plans can be utilized to provide PSTN services to the account.
From the Skype for Business Shell:
Set-CsMeetingRoom -Identity roomname -EnterpriseVoiceEnabled $true
Then add the SKU:
Set-MsolUserLicense -UserPrincipalName roomname –AddLicenses "TeckLyfePSTNsku"
Fix ‘Cannot Fetch Calendar’ Error
If you receive this error, it is usually due to an autodiscover issue with your DNS settings. Verify your autodiscover is working correctly. You can use Microsoft’s Remote Connectivity Analyzer.
If you’re in a hybrid environment and you created your rooms in Exchange Online where there’s no reference to the rooms in your on-premise Active Directory or Exchange Hybrid Server, then you’ll need to create an on-prem account and link it to your Exchange Online room.
- Create the on-premise Active Directory user using the same alias and email address as your Exchange Online room.
- Get the ExchangeGuid from Exchange Online by connecting to your Exchange Online Shell and running (replace roomname with the room’s alias):
Get-Mailbox roomname | fl ExchangeGuid
- Next, open your Hybrid Exchange Shell and run these two commands:
Enable-RemoteMailbox roomname -RemoteRoutingAddress [email protected]
Set-RemoteMailbox roomname -ExchangeGuid GUID_FROM_EXCHANGE_ONLINE
Replace roomname with the alias. Use your Exchange Online domain instead of domain.mail.onmicrosoft.com, and use the GUID from the Exchange Online command in place of GUID_FROM_EXCHANGE_ONLINE.
Fix ‘Signing in – we can’t sign you in because the server couldnot be reached or the server version is incompatiable with the device’ Error
This error is usually because of your password or password policies. You can run this command to disable the strong password policy and set the password to never expire for the Teams Rooms accounts:
Set-MsolUser -UserPrincipalName roomname -StrongPasswordRequired $false -PasswordNeverExpires $true


