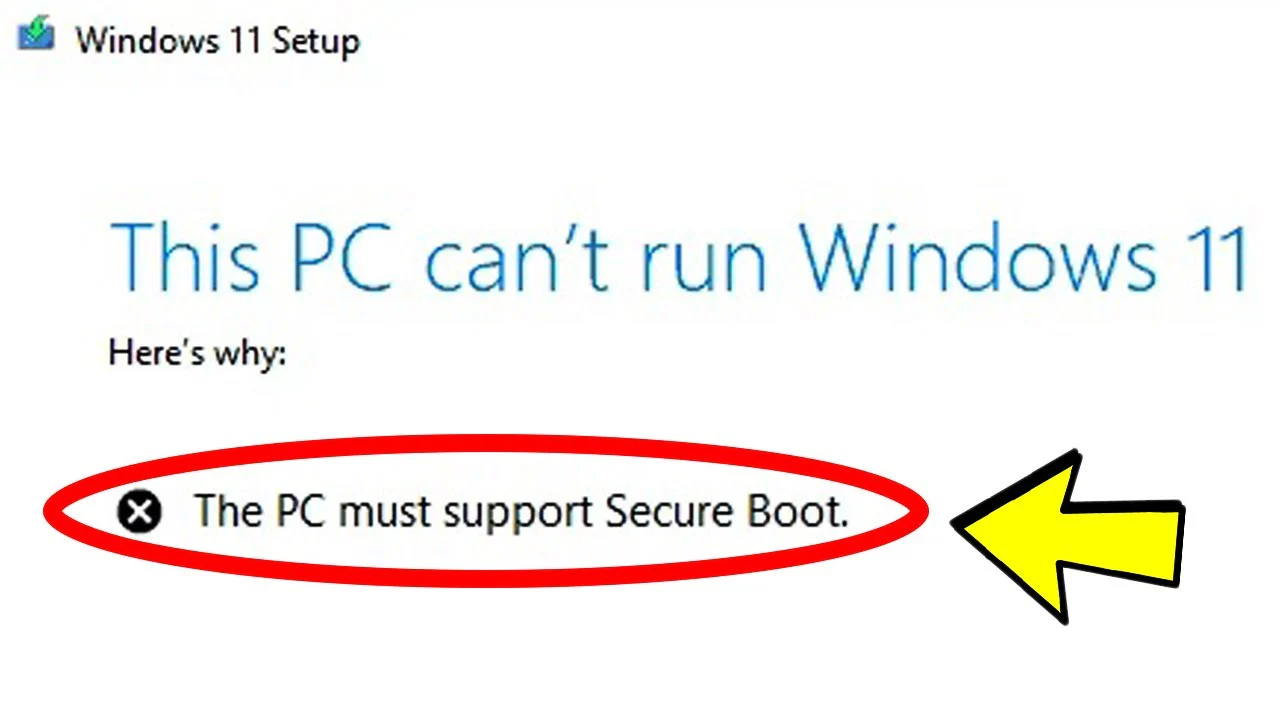
Windows 11 has more security requirements than previous versions of Windows. The main requirements are the use of a TPM 2.0 chip (TPM 2.0 can be enabled in your BIOS if you have current hardware) and Secure Boot. If you want to try Windows 11, you can install it as a virtual machine using virtualization software like Hyper-V. This article assumes you have Hyper-V already installed.
Hyper-V Requirements
Hyper-V requires the virtual machine to be configured with Generation 2. The other hardware minimum requirements for Windows 11 include 4GB RAM and a 64GB hard drive.
Enable TPM and Secure Boot in Hyper-V
- Open Hyper-V Manager
- Click on the host computer from the left pane
- Select the Windows 11 VM from the right side
- Confirm the Generation setting reads 2 in the Summary tab at the bottom of the page
- Right-click the Windows 11 VM and select Settings
- Click on Security
- Under the Secure Boot section, check Enable Secure Boot
- Use the Template drop-down menu and select the Microsoft Windows option
- Under Encryption Support, check Enable Trusted Platform Module to enable TPM to install Windows 11
- Check Encrypt state and virtual machine migration traffic
- Click Apply
- Click OK
This should complete the steps needed to add the hardware requirements for Windows 11 to be able to install it as a virtual machine in Hyper-V. You’ll want to set the other minimum hardware requirements such as disk space, memory and CPUs. From here, you’ll need to download the Windows 11 ISO and mount it and go through the setup process.
Microsoft now offers a way to Bypass TPM 2.0 and CPU Requirements to Install Windows 11 if you currently have Windows 10 in your virtual machine and want to upgrade it to Windows 11.