If your internal microphone has stopped working after you install the Windows 10 Spring Creators Update, check your drivers for updates and that the audio driver isn’t disabled. You can do this by right-clicking on the start menu and going to Device Manager. Once you’re done there, then check the following privacy settings that are new to the Windows 10 Spring Creators Update.
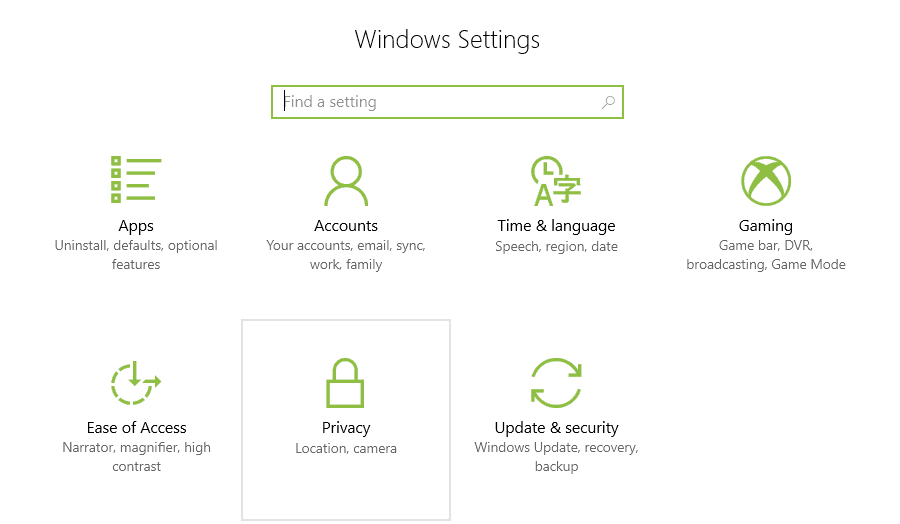
Microsoft has made some changes with the privacy options that can block all apps from using the microphone by default. So you need to remove the deny all device access feature in the Settings app.
- From your desktop, tap or click on the Windows button at the left-bottom corner.
- Open the Settings app, and navigate to the Privacy category, then select the Microphone tab at the left side
- In the right side pane, locate the “Allow access to the microphone on this device” option, move its switch from Off to On position.
Re-configure the input/output hardware
- Type Control Panel in the Start menu, and open the top one from result.
- Click on Hardware and Sound > Sound, go to the Recording tab, select your current mic and click on Properties button.
- Under the Levels tab, Adjust the slider, and set “Microphone” to 50 and “Microphone Boost” to +24.0 dB.
- Select the Enhancements tab, check “Disable all sound effects”, and click Apply > OK to save all
.