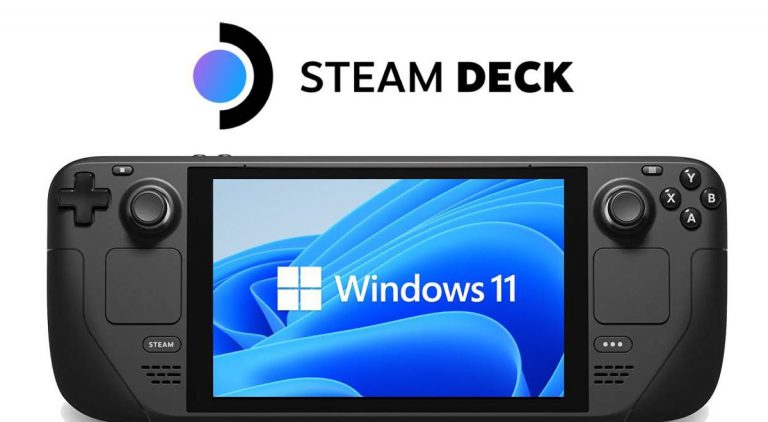
As a Steam Deck owner, many games will run natively in SteamOS and run great. There are a few games that will probably run better in Windows and some games like the new Call of Duty Modern Warfare II that won’t run in SteamOS because of the anti-cheat program they use. There are a few options to boot to Windows on the Steam Deck. You could use an external USB drive, and external SSD drive, or even install windows on a microSD card and boot to it. In this guide, we’ll add space to the Steam Deck’s internal SSD drive and install Windows on it. This is for advanced users and it could break SteamOS. Valve offers a recovery image that should allow you to restore SteamOS. Please proceed with caution and at your own risk. According to Valve, a future release of SteamOS 3 will include a wizard to dual boot with Windows, but there’s no known release date at this time.
What You’ll Need
- A fully charged Steam Deck with either a 256GB or 512GB SSD (sorry to the 64GB users, you’ll need to use one of the alternative methods)
- 2 USB drives (or a tool that lets you install GParted and the Windows installer on one drive)
- A USB-C hub to connect the USB drives to
- GParted ISO – Download here
- Windows 10 or 11 ISO – Windows 10 Download / Windows 11 Download
- Download the Steam Deck Windows Drivers from their Windows Resources FAQ
Partition the Internal SSD
The first tool you’ll use is GParted to add space to your internal SSD. You can follow this guide to create a GParted Live USB.
- Shutdown your Steam Deck and remove your microSD card
- Connect the USB-C hub and the GParted Live USB drive
- Hold Volume Down and Power button to boot to the Boot Manager
- Select the USB Drive (the name will vary)
- When GParted loads, select the correct drive in the upper-right dropdown menu
- Select the last partition (usually Home), then right-click and select resize/move
- Add as much free space to the end as needed. Usually a minimum of 64GB.
- Optional – Create an NTFS or ext4 partition with the free space. If you boot into SteamOS before installing Windows, it will attempt to re-capture any free space, doing this step will avoid that.
- Click the green check button to apply the changes
- Click Exit from the desktop and Restart
Install Windows 10 or Windows 11
- Create your Windows installation USB using the Installation Media tool found on the download page.
- Shutdown your Steam Deck and remove your microSD card
- Connect the USB-C hub and the Windows installation USB
- Hold Volume Down and Power button to boot to the Boot Manager
- Select the USB Drive (the name will vary)
- Go through the Windows installation steps, select advanced installation to be able to select the free space or partition you created previously
- The Steam Deck will restart to complete the installation process and walk you through creating an account. If you do not want to use a Microsoft account, do not connect to a wireless network during setup.
Custom Bootloader
Once you get this far, the Steam Deck will automatically boot into Windows. To boot into SteamOS, you’ll need to shutdown, then use Volume Down and Power and select SteamOS. You can install a custom bootloader using rEFInd.
- Boot into SteamOS and go into Desktop Mode.
- Open the Konsole terminal and we’ll be using this Github repo to install rEFInd.
- Follow the instructions on the Github page, but the basic commands are:
git clone https://github.com/jlobue10/SteamDeck_rEFInd/
cd SteamDeck_rEFInd
chmod +x SteamDeck_rEFInd_install.sh
./SteamDeck_rEFInd_install.sh
Once you reboot, you should be presented with the new bootloader. It should default to SteamOS but also give you the option to boot into Windows. After booting into Windows, you’ll need to install the Steam Deck Windows Drivers you downloaded previously.


